9 ways on How to fix slow laptop

fix slow laptop

There are two factors that can be attributed to your snail like  slow laptop, it can be hardware or software related problem  but worry no more! I will teach you  ways to fix slow laptop and one good thing about it is most of them can be done on your own, and this list is just a few of the hundred proven ways to optimize and boost your laptop performance.

1. Check HDD/SDD health using HDD sentinel or any related application:

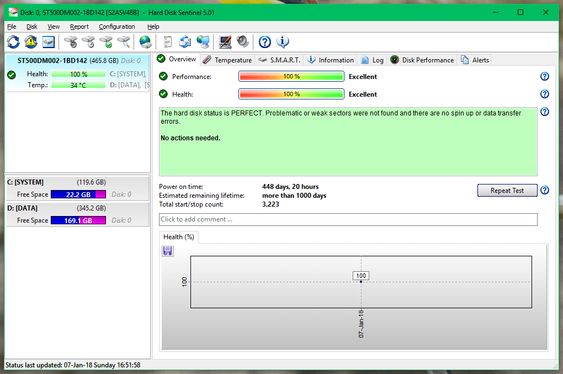
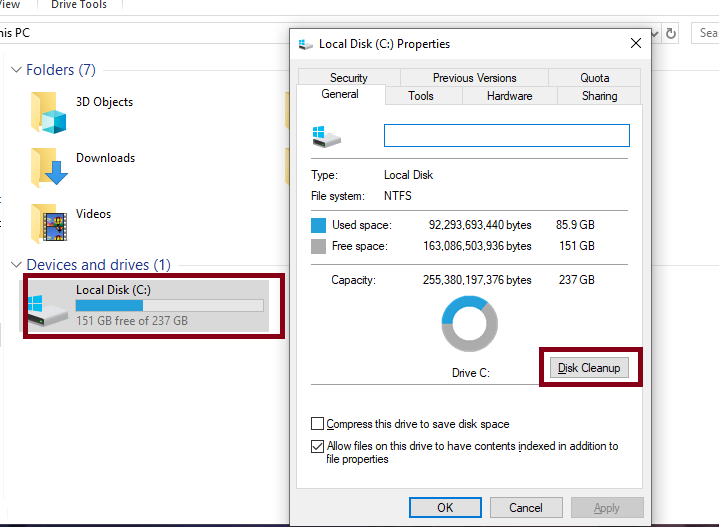
       The first thing I do in fixing a slow laptop is to check the health of the storage of the laptop before I perform cleaning. This method helps me identify instantly if the storage is defective and needs replacement or just need system level cleaning; it saves me a lot of time because if the storage is already damaged, no matter how many times you clean your system, no improvement will occur; it will just lead to your frustration. Personally, I used a software called Hard  Disk Sentinel as a way to analyze the current health status of the hard disk.

HD Sentinel

Here are the steps on how to use this software:

1: go to their website @Hard disk Sentinel.
2: download the software ( if you will only use this once, you can use the free version but if you are a Technician or in the same field you my consider getting the professional version)

3: locate hdsentinel.exe in the folder.

4: run the program analyze health and performance of your storage.


If your HDD’s health drops to 99% and you experience problems with your laptop’s performance It is recommended that you replace it with a brand new hard disk or an SSD to optimize its performance. But be in mind that installing new storage will require you to know how to install Windows in it via USB. If you are a tech enthusiast and love learning and trying things out, you can try to install it on your own. There are hundreds of tutorials on the internet about installing Windows. But if your doubtful, better go to the nearest repair center in your place.

2. Scan your computer using Windows security

Before we proceed in cleaning up unnecessary programs and files in our system, we must first ensure that our system is free from any malware and viruses and one good thing about Windows is it comes with great built-in protection in your system; it is one of the most reliable antivirus and anti-malware programs on the market, and the best thing about Window Security it’s FREE for all Windows users. All you need to do is keep your Windows updated. Here are the steps on how to use Windows security:

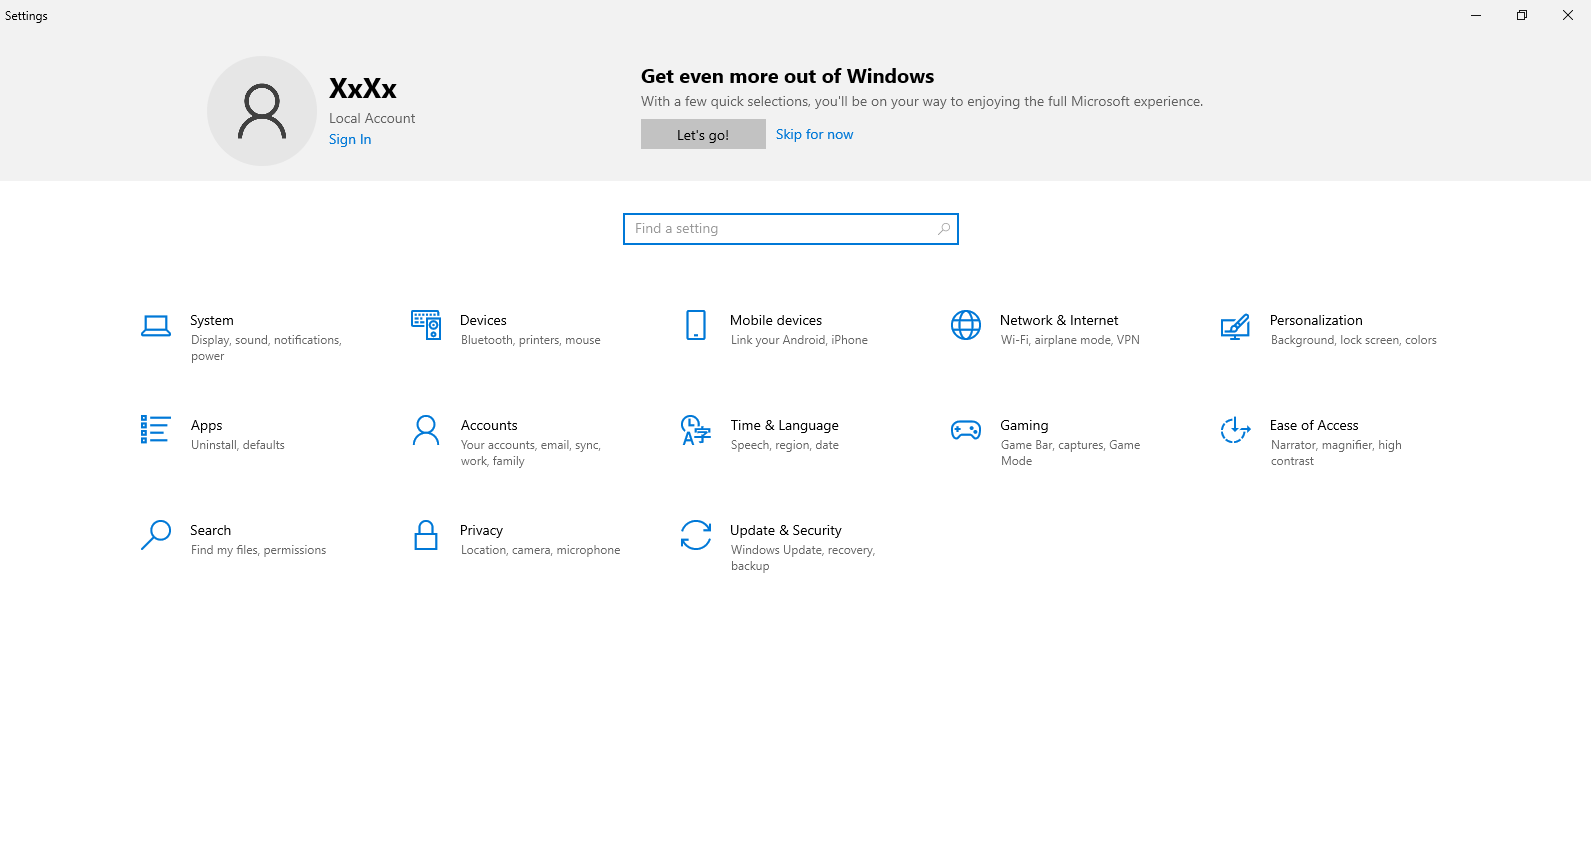
1. Press Win + I to open Settings.windows settings

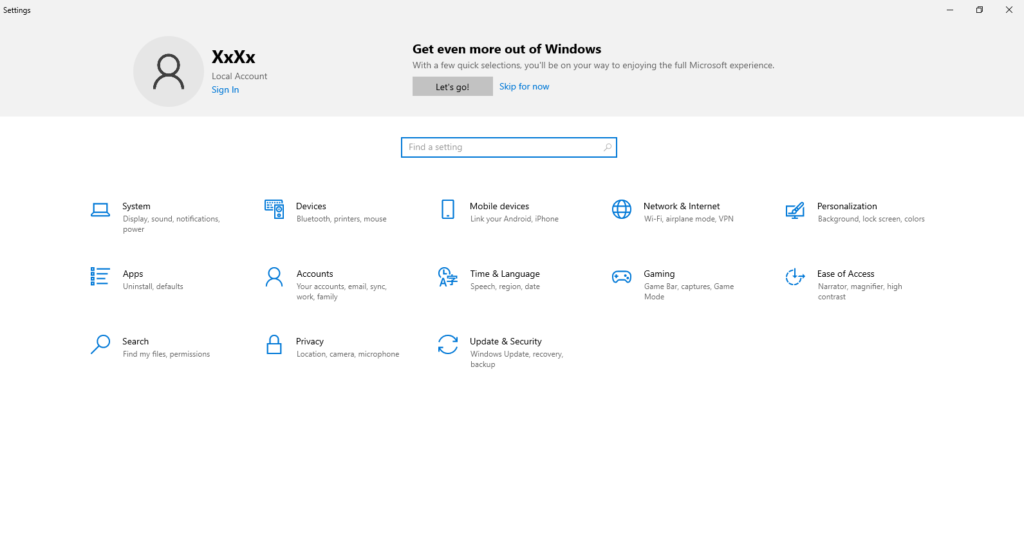
2. Go to Update & Security > Windows Security.setting

Here you can select an option on how you want to scan your system. You can choose between  QUICK , FULL or CUSTOM SCAN.windows defender


3. Remove unnecessary programs.

As I mentioned, running background programs is one reason why a laptop has poor performance, and the only solution for this is to uninstall those programs that are useless and only consume resources. There are many ways to navigate and uninstall those programs. But today, I will teach you the most common way that most people are family:

Uninstall Via Setting

1.Press Win + I to open Settings.
2.Go to Apps > Apps & features.
3. Scroll through the list of installed apps.
4.Click on the program you want to remove and select Uninstall.

windows settings
Uninstall via Control Panel

1. Press Win + R, type control, and press Enter.

2. Go to Programs > Programs and Features.

3.Find the program you want to uninstall, right-click on it, and select Uninstall.

control panel
Using Search Tab

1. Type in the search bar on the lower left corner of your screen “program”

2. click “add remove program”

3.Find the program you want to uninstall, right-click on it, and select Uninstall.

search tab

app features
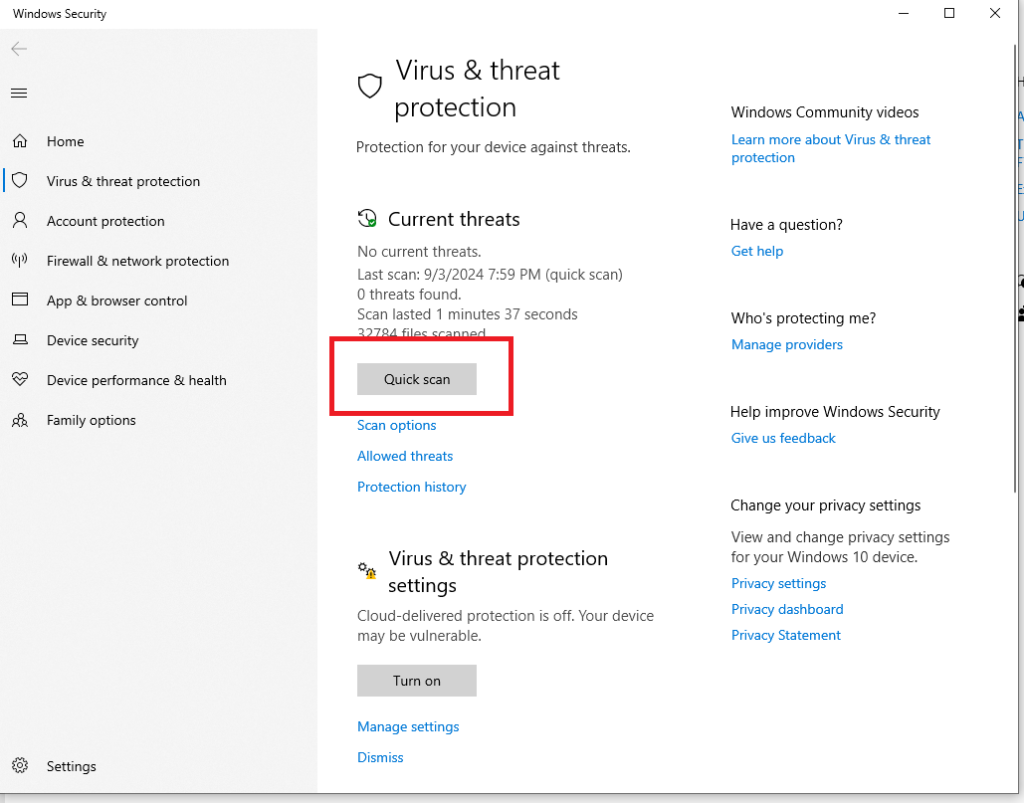
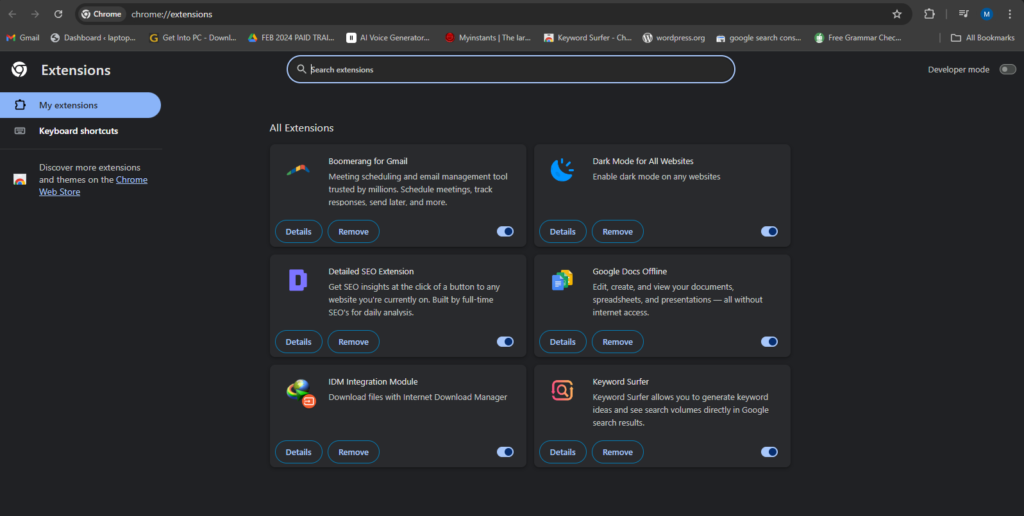
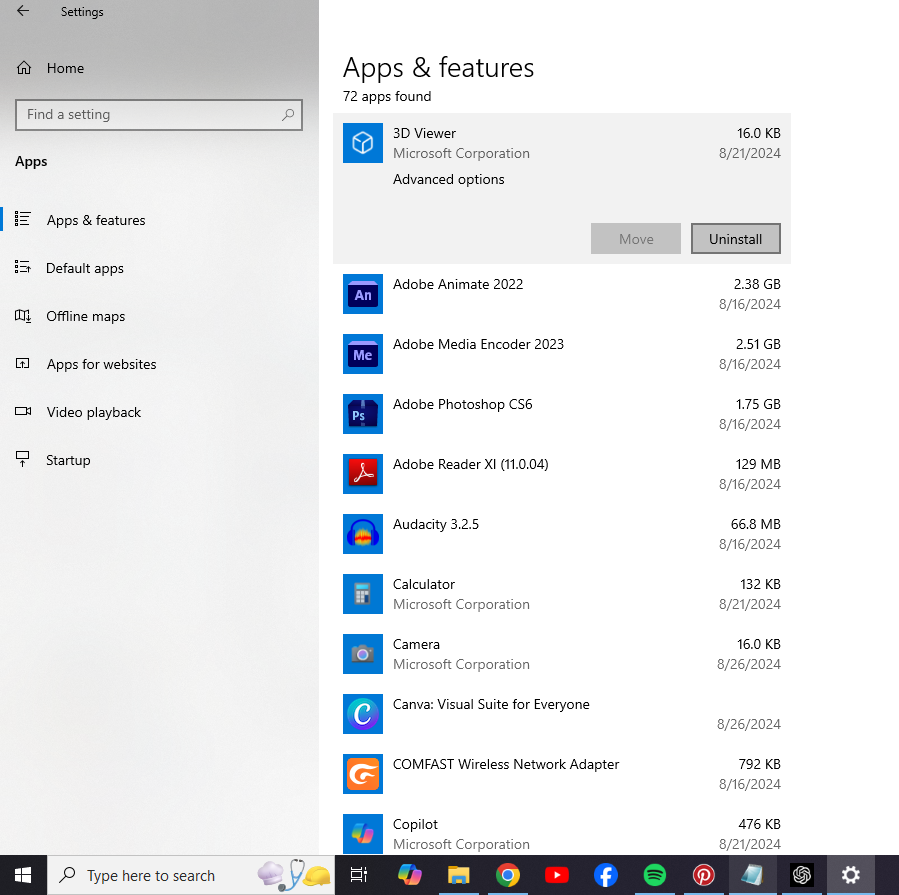
After successfully navigating to APP FEATURES setting your screen should appear like this image.

From here you can now start selecting application or program that you are not using.


4. Delete temporary files.

Temporary files are files created by a computer program to store data temporarily while the program is running. These files are deleted automatically when the program is closed, but some of these files aren’t automatically deleted, and as you used your computer, these temporary files backed up and now consume part of your storage. 

In Windows, temporary files are usually stored in

 C:\Users\Username\AppData\Local\Temp (replace “Username” with your own username) but there is an easy way to locate it.

1. In search bar type Run and hit enter

2. a pop up box will appear just type “%temp%”  and hit enter

 3. select all content by pressing “ctrl+a” and delete all files.

run temp

5 perform disk cleaning and disk defrag.

how to perform Disk Cleanup

1. Locate Drive C. typically located in “This PC”

2. right click Drive C and select “properties” at the bottom.

3. click the “Disk clean up” button.

4 select by checking the location you want to clean.


disk clean up
How to perform Disk Defragmentation

1. Locate Drive C. typically located in “This PC”

2. right click Drive C and select “properties” at the bottom.

3. click tools at the upper menu and click “optimize”

4 click the drive you want to optimized then click optimize.


defrag

6. Disable unused browser extension.

If you suffer from lag and unresponsive browser maybe you have too much extension installed in your browser and ease this problem fallow 

the steps below:

Uninstall via Chrome

1. Open Chrome and click on the three vertical dots (menu) in the upper-right corner.
2. Go to “Extensions” then select “manage extension”.
3. This will open the Extensions page where all installed extensions are listed.
4. Find the extension you want to uninstall.
5. Click the Remove button next to the extension.
6. Confirm the removal by clicking Remove again in the pop-up dialog.

google extention

7. Resetting Windows.

If the solution above does not make any significant improvement in your system, this might be the time that you consider resetting your Windows. This method has two options: to keep all files and just remove programs that are not included in the default setting, or to remove all files and programs installed in your system, which will return your system to its original state.

Warning!!
This method requires you to at least be familiar with Windows, and if you are not comfortable doing this, it is advisable to just take it to your trusted repair center. 

Enter Windows Recovery mode:

 Press “Windows key  + I” to enter setting > select update and security >  in the left menu select  “recovery” >  below Reset this PC press “Get Started” 

It will give you an option to keep files or remove everything. the choice will be yours.


How-to-reset-computer

8. Upgrade RAM.

Upgrading your RAM (Random Access Memory) can provide several benefits for your computer’s performance, depending on how you use your machine and the tasks you perform. but there are several factors to consider before proceeding. Here’s a guide to help you make an informed decision: 

Compatibility

RAMMotherboard Support: 

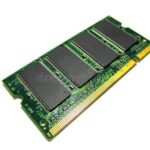
Check your motherboard’s specifications to determine the maximum amount of RAM it supports and the type of RAM it requires (e.g., DDR4, DDR5).CPU Support: Ensure that your CPU can handle the amount of RAM you’re considering. Some older CPUs may have limitations on the maximum supported RAM. Form Factor: Ensure that the RAM sticks you’re purchasing match the form factor (e.g., DIMM for desktops, SO-DIMM for laptops) of your motherboard.

Current RAM Configuration

Check Existing RAM: 

Identify the amount, speed, and type of RAM currently installed. This helps in choosing compatible RAM sticks and determining how much more you need.Number of Slots: Verify the number of RAM slots available on your motherboard and how many are currently occupied. This will help you decide whether to add more sticks or replace the existing ones.

Dual-Channel vs. Single-Channel: Dual-channel configurations generally offer better performance than single-channel. If possible, match the new RAM with existing sticks to maintain or enable dual-channel operation.

Required Amount of RAM

Your Use Case: 

Determine how much RAM you need based on your usage: Basic Use: 8GB is usually sufficient for basic tasks like web browsing, word processing, and light multimedia. Gaming and Moderate Use: 16GB is generally recommended for gaming, moderate multitasking, and content creation.

Heavy Use: 32GB or more is ideal for video editing, 3D rendering, virtual machines, and other memory-intensive tasks.

RAM Speed and Latency

RAM Frequency: Higher frequency (measured in MHz) generally means faster data transfer. However, your motherboard and CPU must support the higher speed. Latency (CAS Timing): Lower latency means quicker response times for memory operations. For optimal performance, balance frequency with low latency.

Brand and Quality

Reputable Brands: Stick to well-known and reputable brands (e.g., Corsair, Kingston, G.SKILL, Crucial) to ensure quality and reliability. Warranty: Check the warranty offered by the manufacturer, as RAM typically comes with a long warranty period, sometimes even lifetime coverage.

Operating System Limitations

32-bit vs. 64-bit OS: Ensure your operating system can utilize the amount of RAM you’re installing. A 32-bit OS can only address up to 4GB of RAM, while a 64-bit OS can handle much more. Software Requirements: Some software applications have specific RAM requirements. Ensure that your upgrade meets or exceeds these requirements. 

Installation Process

RAM installation
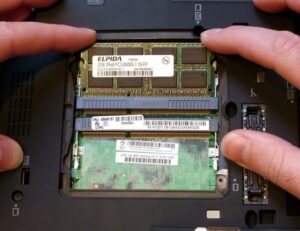
RAM is relatively easy to install, but make sure you are comfortable with opening your computer and handling components. You should consider having the proper tools before doing it yourself. There are a lot of online videos that teach how to upgrade or replace RAM with a specific brand and model; just make sure to visit some of them for guidance. If in doubt, bring your laptop to the nerve repair center.

9. Switch to SSD.

SSD Upgrade

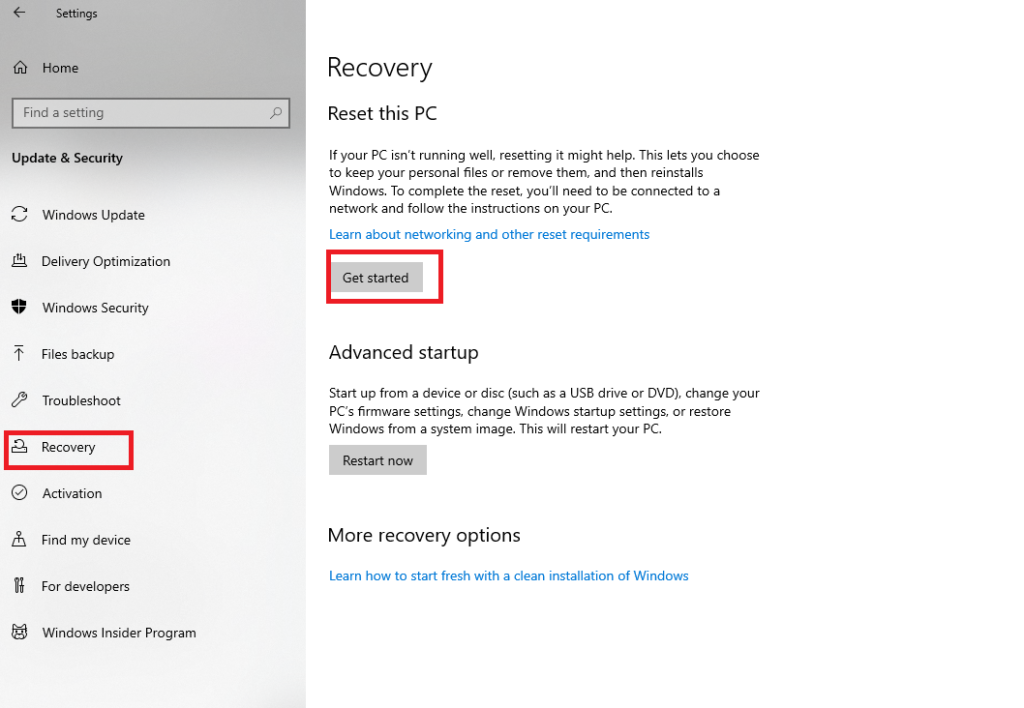
This is the last recourse if you have tried the steps above and yet nothing has changed. This time, I assure you that your computer or laptop will eventually boost and optimize its performance. But this methodology requires intermediate knowledge in computer hardware and software due to its complicated process. 

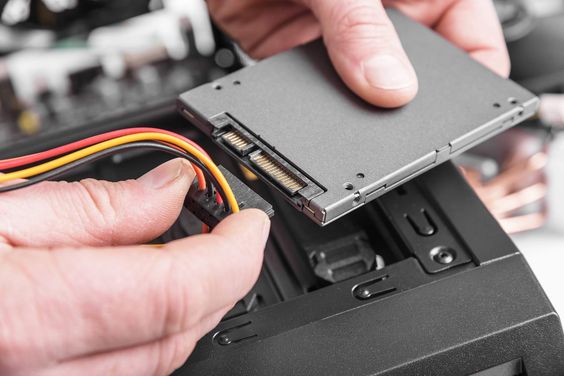
First, you need to identify what type of storage you have; is it HDD, SSD NVME, or SSD M.2? 

Second, you need to open your laptop and locate your SSD or HDD and replace it with the new one.

Third, you need to download an ISO file of your preferred Windows and bootable creator software; the most common is Rufus.

forth, using Rufus, you need to flash the ISO file to a 16-gigabyte or more flash drive.

Then you need to learn how to get in your laptop’s BIOS setting and set up your flash drive as the first priority on the boot order.

Generally, these are the steps that you need to learn in order to successfully replace or upgrade your storage.

Speed:

 SSDs are significantly faster than HDDs. This means quicker boot times, faster file transfers, and more responsive applications.

Reliability: 

 SSDs have no moving parts, making them less prone to mechanical failure and more durable than HDDs, which rely on spinning disks and read/write heads.

Power Efficiency: 

SSDs consume less power compared to HDDs, which can lead to better battery life in laptops and lower energy bills in desktops.

Noise: 

SSDs operate silently since they have no moving parts, whereas HDDs can be noisy due to the spinning disks and moving read/write heads.

Heat Generation: 

SSDs generate less heat than HDDs, which can contribute to a cooler and more stable system.

Size and Weight: 

SSDs are generally smaller and lighter than HDDs, which can be beneficial in portable devices like laptops and ultrabooks.

Overall, upgrading to an SSD can make your computer feel much more responsive and improve overall performance.